
How to Install Baseboard Trim Molding for Beginners
- Diane Serra Huelma
- Feb 19
- 5 min read

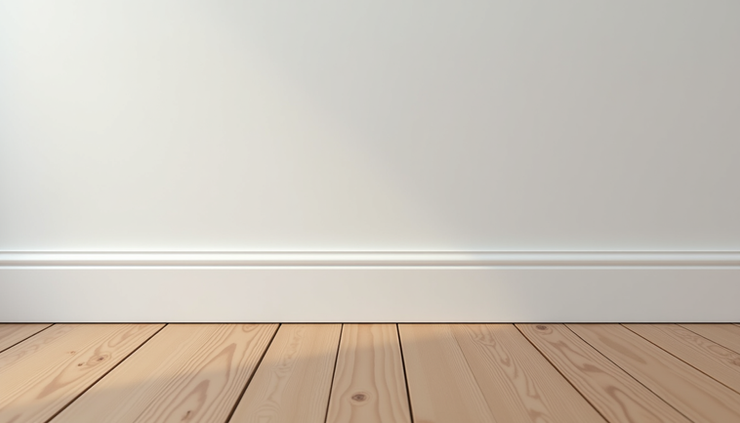
Installing baseboard trim molding can transform the look of any room by adding a polished, finished edge where the walls meet the floor. For beginners, the task might seem intimidating, but with the right tools, clear steps, and some patience, you can achieve professional-looking results. This guide will walk you through everything you need to know to install baseboard trim molding confidently and correctly.
Let's discuss!
Understanding Baseboard Trim Molding
Baseboard trim molding serves both decorative and functional purposes. It covers the joint between the wall and floor, hiding any gaps or uneven edges. It also protects walls from kicks, furniture, and cleaning tools.
Types of Baseboard Trim
Flat Baseboards: Simple and modern, flat boards have a smooth surface with minimal detail.
Colonial Baseboards: Feature a curved or stepped profile, adding traditional charm.
Beaded Baseboards: Include a small bead detail along the edge for subtle texture.
Tall Baseboards: Often used in older homes or high-ceiling rooms for a grand look.
Choosing the right style depends on your room’s design and your personal taste.
Tools and Materials You Will Need
Before starting, gather all necessary tools and materials to avoid interruptions.
Essential Tools
Measuring tape
Miter saw or miter box with handsaw
Nail gun or hammer and finishing nails
Level
Stud finder
Pencil
Caulk gun
Wood filler or putty
Sandpaper (medium and fine grit)
Safety glasses and ear protection
Materials
Baseboard trim molding (measure the perimeter of your room to estimate length)
Wood glue (optional, for extra hold)
Paint or stain (if you plan to finish the trim yourself)
Painter’s tape (to protect walls and floors during finishing)
Preparing the Room and Materials
Preparation is key to a smooth installation.
Remove any existing baseboards carefully.
Clean the wall and floor edges to ensure a good fit.
Acclimate your baseboards by leaving them in the room for 48 hours to adjust to humidity and temperature.
Measure each wall carefully, noting lengths and corners.
Mark stud locations on the wall using a stud finder to know where to nail.
Cutting Baseboard Trim for Corners and Lengths
Cutting baseboards accurately is crucial for tight seams and professional results.
Inside Corners
Inside corners require coping or miter cuts:
Coping: One board is cut square, the other is cut with a miter saw at 45 degrees and then shaped with a coping saw to fit the profile.
Miter Cut: Both boards are cut at 45 degrees to form a 90-degree corner.
Coping provides a tighter fit and is preferred for painted trim.
Outside Corners
Cut both boards at 45 degrees to form a clean outside corner.
Straight Cuts
Cut baseboards to length with square cuts for straight walls.
Tips for Cutting
Always measure twice before cutting.
Use a scrap piece to test your cuts.
Label each piece to avoid confusion during installation.
Installing the Baseboard Trim
Follow these steps for a smooth installation.
Start With The Longest Wall
Begin installation on the longest, straightest wall.
Position The Baseboard
Hold the baseboard against the wall, ensuring it sits flush on the floor.
Nail Into Studs
Use a nail gun or hammer to secure the baseboard into the wall studs. Space nails about 16 inches apart.
Check For Level
Use a level to keep the baseboard straight.
Join Corners Carefully
Fit inside and outside corners tightly.
Fill Nail Holes
Use wood filler or putty to cover nail holes and any gaps.
Sand Smooth
After the filler dries, sand the surface for a seamless finish.
Finishing Touches
Once the baseboards are installed, the finishing process enhances their appearance.
Caulk gaps: Apply paintable caulk along the top edge where the baseboard meets the wall to hide any small gaps.
Paint or stain: Apply primer if needed, then paint or stain the baseboards to match your room’s decor.
Clean up: Remove painter’s tape and clean any dust or debris.
Common Mistakes to Avoid
Skipping measurements: Always measure carefully to avoid wasted material.
Ignoring wall irregularities: Walls and floors are rarely perfectly straight; use caulk and filler to address gaps.
Nailing too close to edges: This can split the wood; nail near the thicker parts of the baseboard.
Rushing cuts: Take your time to ensure precise angles and lengths.
Not acclimating wood: Baseboards that haven’t adjusted to room conditions can warp after installation.
Why You Should Trust The Handyman San Diego for Baseboard Installation and Home Repairs
At The Handyman San Diego, we’re a locally owned and operated home repair and improvement service dedicated to helping homeowners keep their spaces in top condition. With years of experience and a commitment to friendly, reliable service, we handle a wide range of projects — from drywall repairs and plumbing fixes to installing doors and windows and professional painting. Whether it’s routine maintenance or a larger home upgrade, our skilled team delivers quality results with attention to detail and customer satisfaction in mind.
Conclusion
Installing baseboard trim molding is one of those home improvement projects that delivers a big visual impact with a relatively modest investment of time and money. By carefully measuring, making precise cuts, and taking your time with installation and finishing, even beginners can achieve clean, professional-looking results.
Remember, patience is your greatest tool. Double-check measurements, test your cuts on scrap pieces, and don’t rush the finishing touches. With proper preparation and attention to detail, your new baseboards will beautifully frame your room, protect your walls, and elevate the overall design for years to come.
If you’re ready to take your home to the next level — whether that’s installing trim like baseboards or tackling drywall, plumbing, doors and windows, or painting — our team at The Handyman San Diego is here to help guide you through every step.
Contact us today to get started with a free estimate and professional support on your next project!
Frequently Asked Questions
Do I need a nail gun to install baseboard trim molding?
No, a nail gun is not strictly necessary. You can use a hammer and finishing nails instead. However, a nail gun makes the process faster, more precise, and reduces the chance of splitting the wood. If you plan to do multiple trim projects, investing in or renting a nail gun can be worthwhile.
Should baseboards be installed before or after flooring?
In most cases:
Hardwood, laminate, or tile flooring: Install the flooring first, then add baseboards to cover the expansion gap.
Carpet: Baseboards are typically installed before the carpet, leaving a small gap at the bottom for the carpet to tuck under.
This order ensures a clean, finished look.
How do I fix gaps in inside corners?
Small gaps are common due to uneven walls. You can use a paintable caulk to fill minor gaps. Re-cut the joint using a coping saw for a tighter fit. Adjust the angle slightly if the corner isn’t a perfect 90 degrees. For painted trim, caulk is often enough to create a seamless appearance.
What is the best type of baseboard material for beginners?
The best beginner-friendly options are:
MDF (Medium-Density Fiberboard): Affordable, smooth, and easy to cut. Great for painted finishes.
Primed pine: Durable and easier to work with than hardwood.


Comments